A Comprehensive Guide for Indian Creators
Step 4. Editing Your Video Content
Which software to use?

Free Video Editing Software:
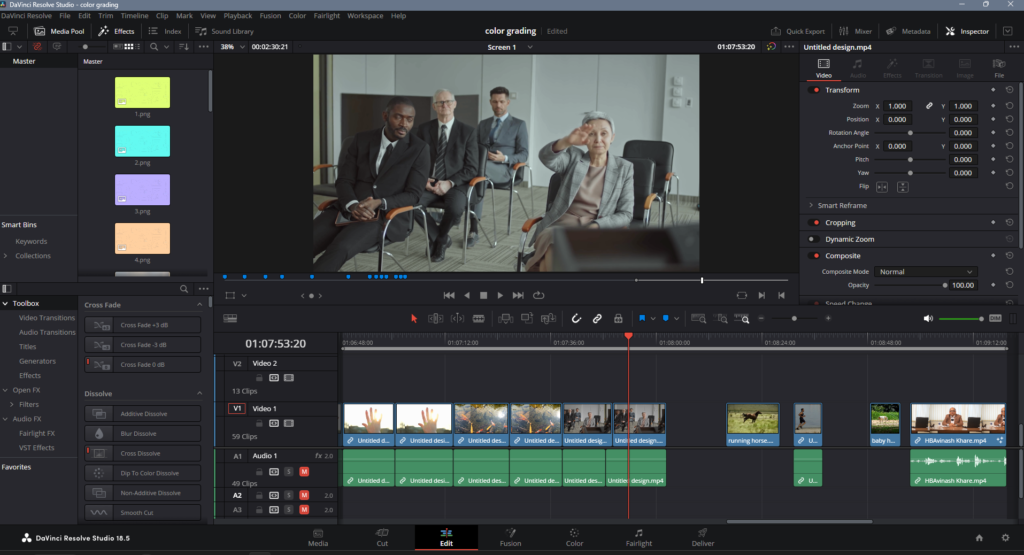
- DaVinci Resolve (Windows, Mac, Linux) : DaVinci Resolve is a powerful and professional-grade video editing software that offers a free version with a wide range of features. It’s known for its advanced color correction and grading capabilities.
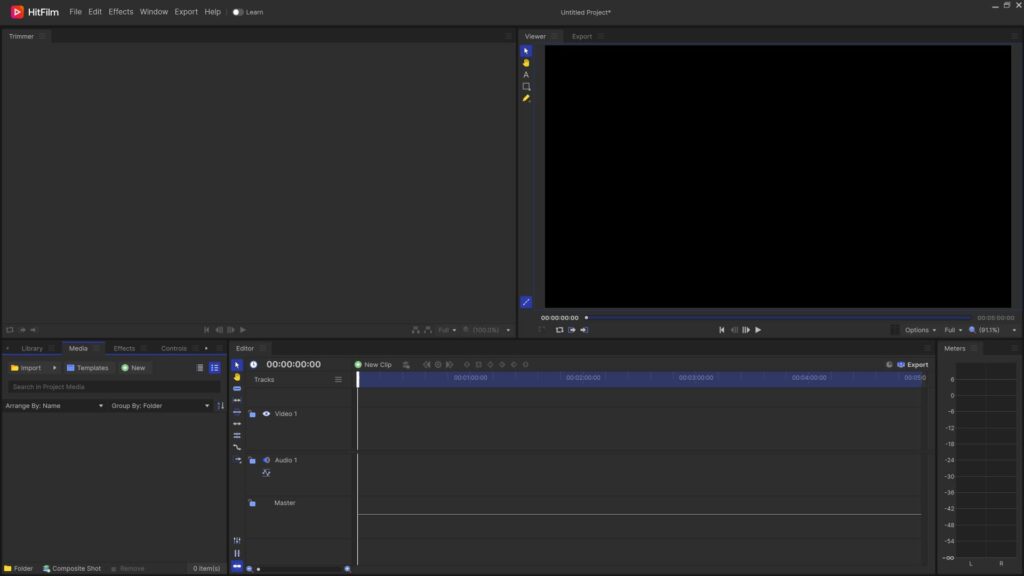
2. HitFilm Express (Windows, Mac) : HitFilm Express is a free video editing and visual effects software that provides a comprehensive set of tools for both editing and creating visual effects.
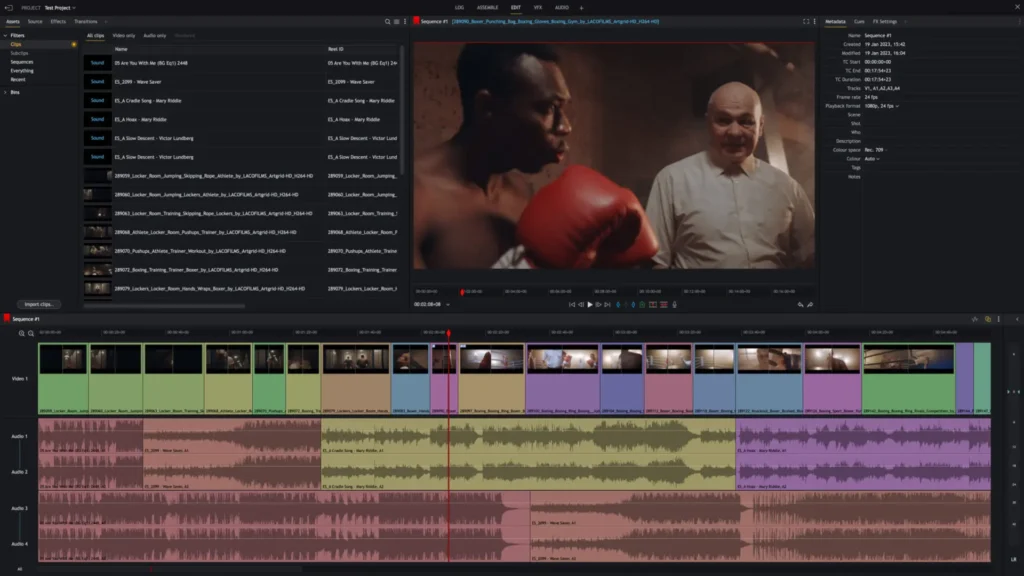
3. Lightworks (Windows, Mac, Linux) : Lightworks offers a free version with a robust set of editing tools. It has been used in the editing of many famous films.
4. iMovie (Mac) : iMovie is a free video editing software for Mac users. It’s user-friendly and offers a range of basic editing features.
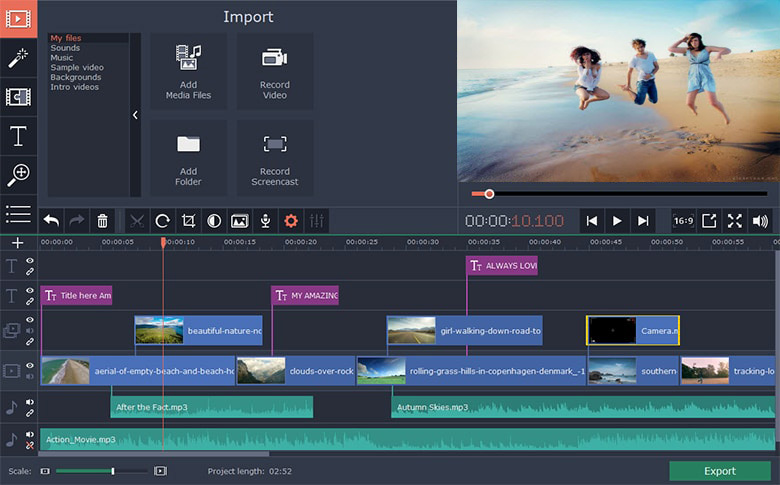
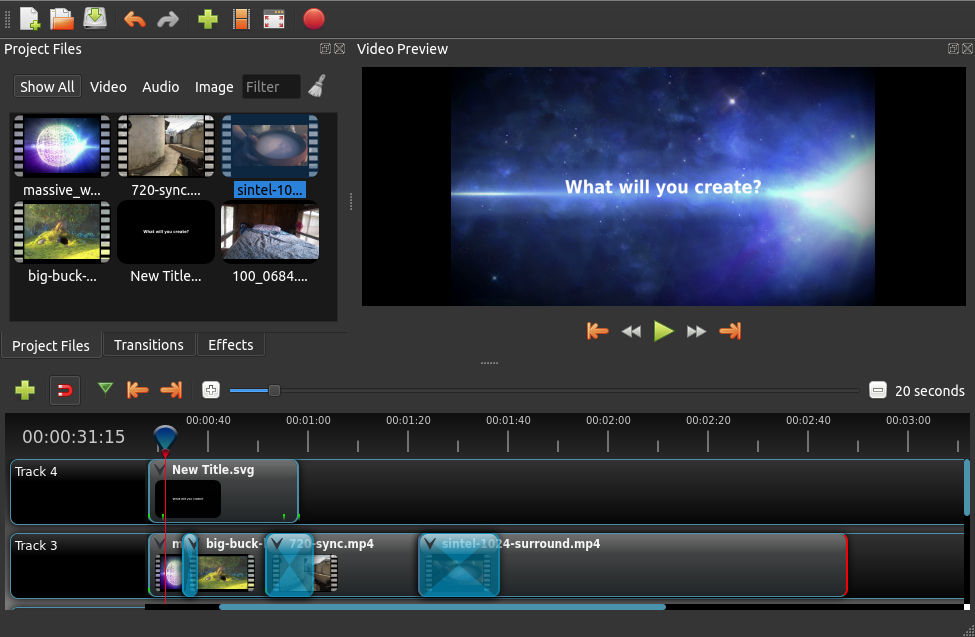
5. OpenShot (Windows, Mac, Linux) : OpenShot is an open-source video editor with a simple, user-friendly interface. It’s great for basic video editing needs.
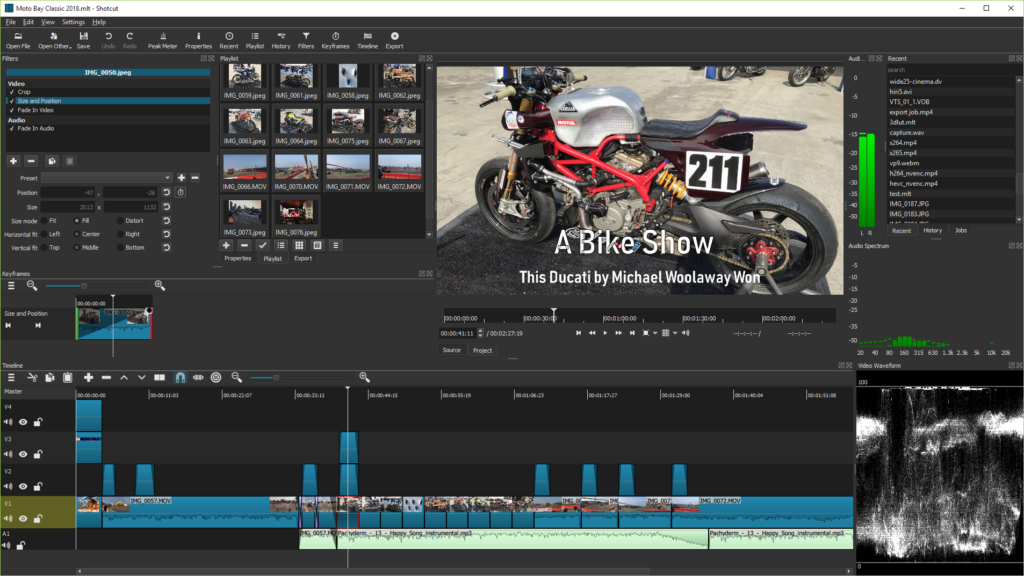
6. Shotcut (Windows, Mac, Linux) : Shotcut is a free, open-source video editor with a clean and intuitive interface. It offers a good set of features for basic to intermediate editing.
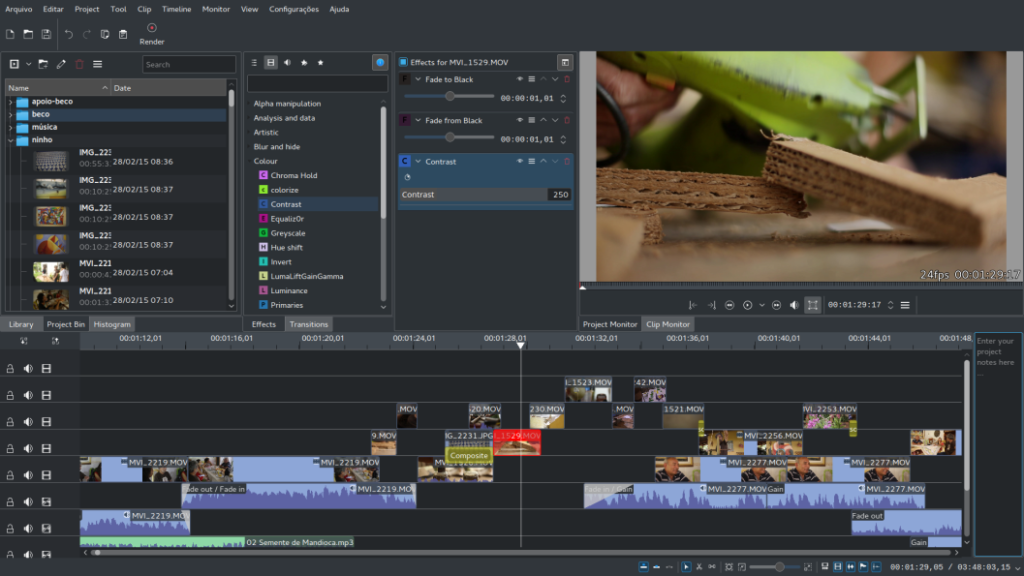
7. Kdenlive (Windows, Mac, Linux) : Kdenlive is another open-source video editor known for its simplicity and ease of use. It’s suitable for basic to intermediate editing needs.
Paid Professional Video Editing Software:
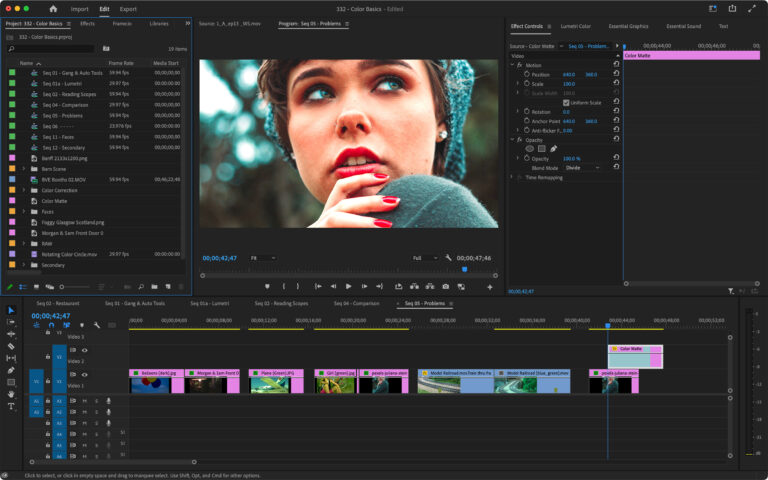
- Adobe Premiere Pro (Windows, Mac) : Adobe Premiere Pro is an industry-standard video editing software used by professionals. It offers a comprehensive set of features for advanced editing, color correction, and more.
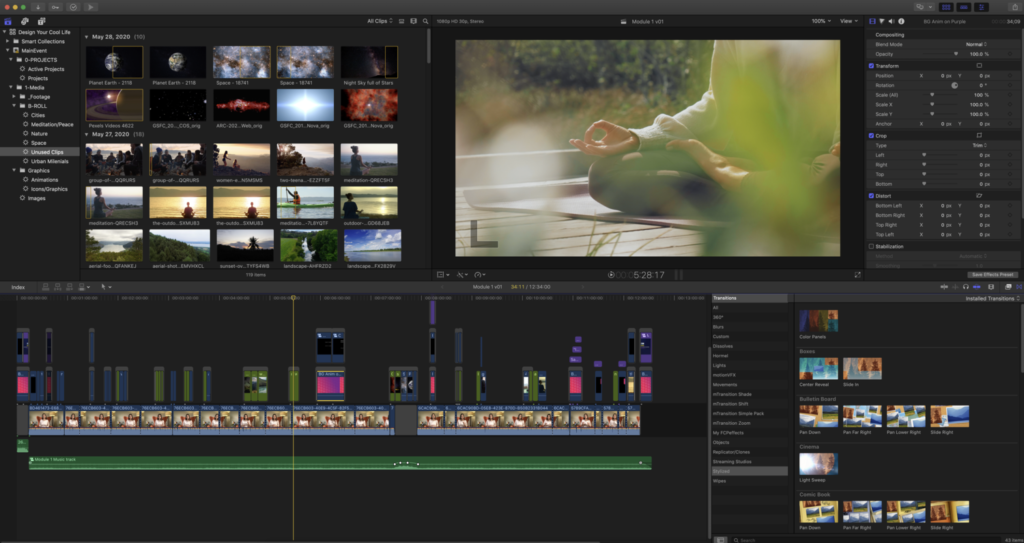
2. Final Cut Pro (Mac) : Final Cut Pro is Apple’s professional video editing software. It’s known for its powerful features, especially when used in conjunction with other Apple products.
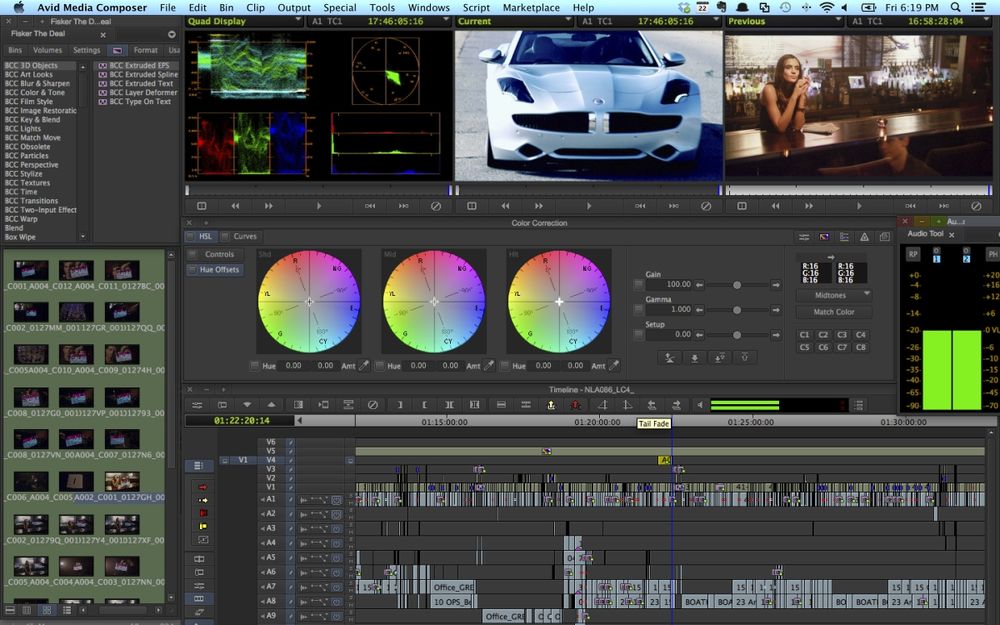
3. Avid Media Composer (Windows, Mac) : Avid Media Composer is a widely used professional video editing software, particularly in the film and television industry. It offers advanced editing and collaborative features.
4. Sony Vegas Pro (Windows) : Sony Vegas Pro is a versatile video editing software with a user-friendly interface. It’s known for its fast rendering and multi-track editing capabilities.
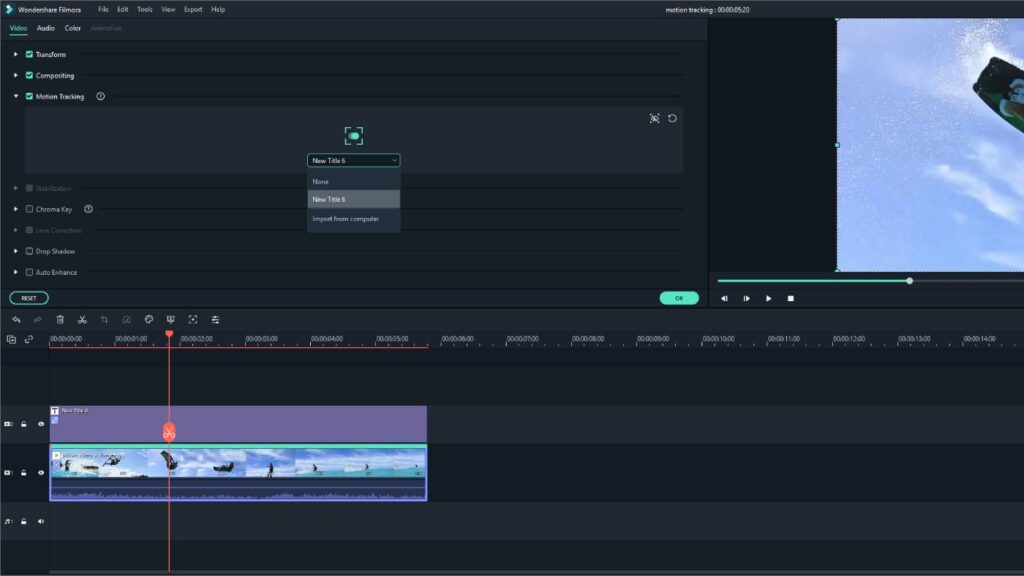
5. Filmora (Windows, Mac) : Filmora is a user-friendly video editing software that strikes a balance between professional features and ease of use. It’s suitable for beginners and intermediate users.
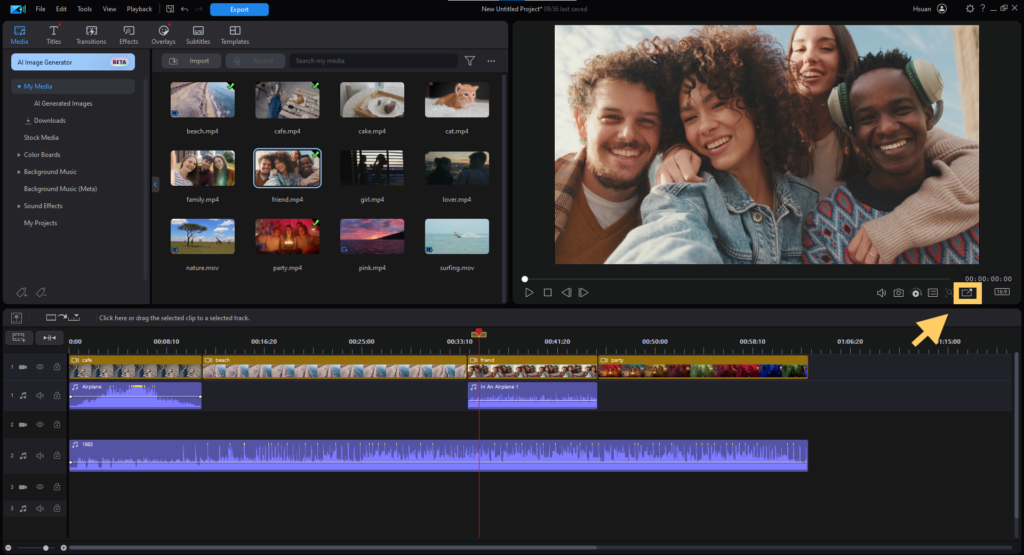
6. CyberLink PowerDirector (Windows) : PowerDirector is a comprehensive video editing software with a range of advanced features, including 360-degree video editing and AI-powered tools.
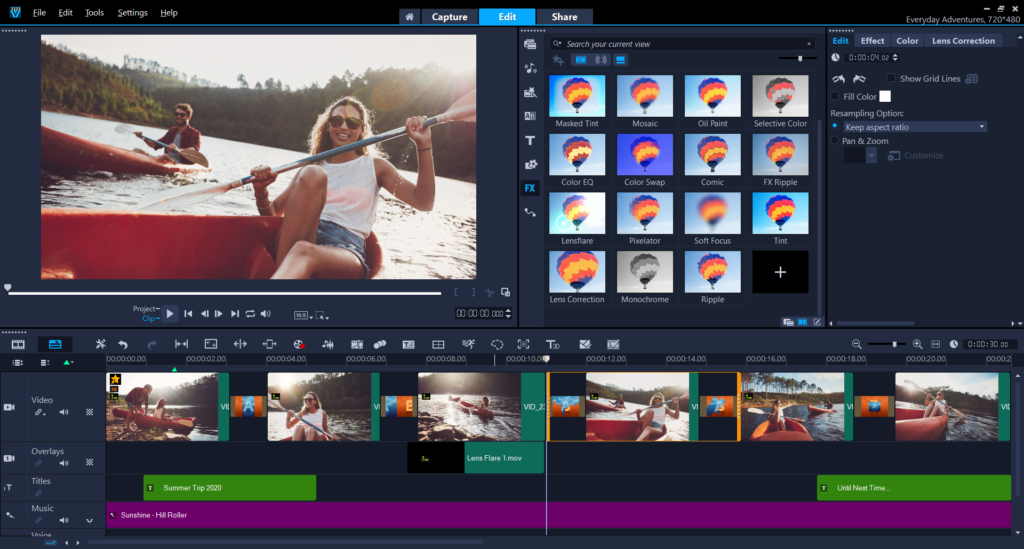
7. Corel VideoStudio (Windows) : Corel VideoStudio is a versatile video editing software that offers a range of features including multi-cam editing, 360-degree video editing, and more.
Common steps and insights to follow for professional video editing:

- Organize Your Footage : Create a well-structured folder system to keep your video clips, audio files, and assets organized.
- Review and Select Footage : Watch through all your footage to select the best takes. Look for good framing, clear audio, and compelling content.
- Create a Rough Cut : Arrange selected clips in a chronological order to create a basic storyline. Trim and cut as needed.
- Refine the Edit : Fine-tune the edit for pacing, flow, and continuity. Pay attention to transitions and make adjustments for a seamless viewing experience.
- Add Music and Sound Effects : Choose appropriate music and sound effects to enhance the mood and narrative of the video.
- Adjust Audio Levels : Ensure that audio levels are consistent and balanced. Adjust the volume to make sure dialogue is clear and not drowned out by music or effects.
- Incorporate Visual Effects (if needed) : Add graphics, text overlays, visual effects, or animations to enhance the video’s visual appeal.
- Color Correction and Grading : Adjust the colors and tones to achieve a consistent and visually appealing look. Correct any white balance or exposure issues.
- Stabilize Footage (if needed) : Use stabilization tools or techniques to smooth out shaky footage.
- Add Transitions and Effects : Include transitions (dissolves, cuts, wipes, etc.) to seamlessly move between clips. Use effects sparingly to enhance storytelling.
- Review and Revise : Take breaks and come back to the edit with fresh eyes. Continually refine and make adjustments until you’re satisfied with the result.
- Add Titles and Graphics : Include titles, subtitles, lower thirds, and other graphics to provide context or emphasize points.
- Optimize for Different Platforms (if necessary) : Consider aspect ratios, resolutions, and formats for various platforms (YouTube, Instagram, etc.).
- Quality Control : Watch the video in its entirety to catch any errors, such as glitches, continuity issues, or typos.
- Render and Export : Choose appropriate export settings (resolution, format, bitrate, etc.) based on your target platform and audience.
- Back Up Your Project : Save and back up all project files, media, and exports to ensure you have a copy in case of any issues.
- Gather Feedback : Seek input from trusted colleagues or collaborators. Fresh perspectives can often lead to improvements.
- Finalize and Deliver : Once you’re satisfied with the edit, render the final version and distribute it according to your plan (YouTube, social media, etc.).
Common Features in Video Editing Tools:

- Basic Editing Tools: Trimming, cutting, splitting, merging, and arranging video clips on the timeline.
- Transitions: Adding transitions between clips (e.g., cuts, fades, wipes) for smooth transitions.
- Audio Editing: Adjusting audio levels, adding background music, removing noise, and syncing audio with video.
- Color Correction and Grading: Adjusting colors, exposure, contrast, and applying color filters for a consistent look.
- Effects and Filters: Adding visual effects, filters, and animations to enhance the visual appeal of the video.
- Text and Graphics: Adding titles, subtitles, lower thirds, and graphics to provide information or emphasize points.
- Stabilization and Motion Tracking: Stabilizing shaky footage and tracking objects or elements in the video.
- Green Screen (Chroma Key): Removing a specific color (usually green or blue) to overlay a different background.
- Multicam Editing: Editing footage from multiple cameras or angles simultaneously.
- Audio Effects: Applying effects like reverb, EQ, and compression to improve audio quality.
- Rendering and Exporting: Choosing export settings, formats, resolutions, and bitrates for final output.
- 3D Editing (Advanced): Creating and editing 3D effects or working with stereoscopic footage.
- Motion Graphics and Animation (Advanced): Creating animated elements, titles, or graphics within the software.
Differences Between Free and Paid Tools:
1. Advanced Editing Features:
– Paid tools often offer more advanced features for professional-level editing, such as advanced color grading, advanced audio editing, and advanced effects.
2. Speed and Performance:
– Paid tools are typically optimized for better performance, allowing for smoother editing, playback, and rendering.
3. Integrated Libraries and Assets:
– Paid tools may come with extensive libraries of royalty-free music, sound effects, and stock footage, which can save time and resources.
4. Collaboration and Integration:
– Paid tools often offer better collaboration features, enabling multiple editors to work on the same project simultaneously. They also may have better integration with other software or platforms.
5. Technical Support and Updates:
– Paid tools usually come with dedicated customer support and regular updates to fix bugs and introduce new features.
6. Watermarking and Branding:
– Some free tools may apply watermarks or branding to exported videos, which can be removed by upgrading to a paid version.
7. Access to Premium Plugins and Extensions:
– Paid tools often have a marketplace where users can purchase or download premium plugins and extensions for added functionality.
8. License for Commercial Use:
– Free tools may have restrictions on using the software for commercial purposes, while paid versions typically grant more liberal licenses.
Free video editing tools typically offer a limited set of features. For example, they may not have support for all file formats, or they may not have advanced features such as multi-cam editing or motion tracking.
Paid video editing tools offer a wider range of features, including support for all major file formats, advanced editing features, and visual effects. Paid tools are also typically more stable and performant than free tools.
Which tool is right for you?
The best video editing tool for you will depend on your budget, experience level, and the types of videos you want to create. If you are a beginner, I recommend starting with a free tool such as DaVinci Resolve or HitFilm Express. These tools offer a good range of basic features and are relatively easy to learn.
If you are a more experienced editor or you need to create more complex videos, you may want to consider a paid tool such as Adobe Premiere Pro or Final Cut Pro. These tools offer more advanced features and are used by professional editors around the world.
Steps for professional video editing using DaVinci Resolve:
Step 1: Importing Footage
- Launch DaVinci Resolve: Open the software and create a new project.
- Import Media: In the Media page, navigate to the media storage location and import your video files.
- Organize Footage: Create bins to organize your media, separating video clips, audio files, graphics, and other assets.
Step 2: Editing in the Cut Page
- Switch to the Cut Page: Click on the “Cut” tab at the bottom of the screen.
- Create a New Timeline: Click on the “New Timeline” button to start a new project.
- Select and Add Clips: In the Media Pool, select clips and drag them onto the timeline.
- Trim and Arrange Clips: Use the trimming tools to adjust the in and out points of clips. Arrange them in the desired order on the timeline.
- Add Transitions: Use the transition icon between clips to add transitions like cuts, dissolves, etc.
- Adjust Audio: Use the audio meters to ensure audio levels are balanced. Make adjustments as necessary.
Step 3: Editing in the Edit Page
- Switch to the Edit Page: Click on the “Edit” tab at the bottom of the screen.
- Fine-Tune the Edit: In this page, you can continue refining your edit. Use tools like the blade tool to make precise cuts, and the slip and slide tools to adjust timing.
- Add Effects and Titles: Use the Effects Library to add visual effects, titles, and graphics to your clips.
- Adjust Audio Further: Use the Fairlight audio panel to access advanced audio editing tools for tasks like EQ, compression, and noise reduction.
Step 4: Color Grading
- Switch to the Color Page: Click on the “Color” tab at the bottom of the screen.
- Balance and Correct Colors: Use the color grading tools to adjust exposure, white balance, contrast, and saturation.
- Apply LUTs and Looks: Use LUTs (Look-Up Tables) or create custom color looks to achieve a specific visual style.
- Use Power Windows (if needed): Apply selective color corrections using shapes or masks.
Step 5: Audio Mixing
- Switch to the Fairlight Page: Click on the “Fairlight” tab at the bottom of the screen.
- Fine-Tune Audio: Use the Fairlight audio tools for precise control over audio levels, EQ, dynamics, and effects.
Step 6: Final Touches and Exporting
- Switch to the Deliver Page: Click on the “Deliver” tab at the bottom of the screen.
- Set Export Parameters: Choose the format, resolution, and other export settings.
- Add to Render Queue: Click “Add to Render Queue” to queue up your project for rendering.
- Render and Export: Click “Start Render” to process your video.
Additional Tips:
- Save your project regularly to avoid losing work.
- Use keyboard shortcuts for faster editing.
- Experiment with different effects and techniques to find your style.
YouTube Studio Editor :
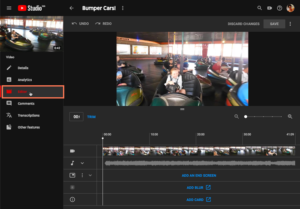
Here are some features of YouTube’s Video Editor:
- Trimming: You can trim the beginning or end of your video to remove unwanted portions.
- Cutting: You can cut out sections from the middle of your video.
- Blurring: You can add a blur effect to objects or people’s faces in the video for privacy or censorship.
- Audio Editing: You can adjust the audio levels of your video.
- Adding Music: You can add music from YouTube’s audio library to your video.
- Transitions: You can add simple transitions between clips.
- Text and Graphics: You can add text overlays and annotations.
- Filters and Effects: You can apply basic filters and effects.
- Speed Control: You can change the speed of your video.
YouTube’s video editor is a basic video editing tool that is built into YouTube. It allows you to trim, crop, and rotate your videos, as well as add music, text, and overlays.
YouTube’s video editor is a good option for beginners who are just starting out with video editing. It is also a good option for creating simple videos, such as vlogs or tutorials.
YouTube’s video editor is not as powerful as professional video editing software. It does not support all file formats, and it does not have advanced features such as multi-cam editing or motion tracking.
Overall, YouTube’s video editor is a good option for basic video editing. However, if you need to create complex videos or if you need to use advanced features, you may want to consider using a professional video editing software.
Here are some of the pros and cons of using YouTube’s video editor for professional video editing:
Pros:
- Easy to use
- Free to use
- Accessible from anywhere with an internet connection
Cons:
- Limited features
- Does not support all file formats
- Does not have advanced features such as multi-cam editing or motion tracking
If you are a professional video editor and you need to create complex videos, using a professional video editing software such as Adobe Premiere Pro or Final Cut Pro is recommended. However, if you are just starting out with video editing or if you need to create simple videos, YouTube’s video editor is a good option.
